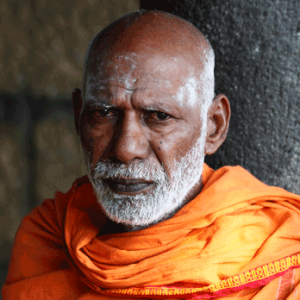
1) Ask for permission when photographing locals close up
 Even if you don’t speak the language it is easy to ask permission to take a photograph – just point at your camera and then gesture politely towards your prospective subject! If they say ‘no’ then smile, thank them anyway, and move on. If they say yes, show them the picture on your LCD screen and engage them in friendly conversation for a minute or two. If they’ve been good enough to let you take their photo, it’s the least you can do. Also, be prepared to leave a small tip when appropriate, or buy something from them if they are a seller.
 2) Get to sites early or late
Not only is the light invariably better, there are fewer visitors to get in the way. This may mean some early mornings but it will definitely be worth it when you see the results!
3) Learn to use your camera…
This perhaps goes without saying. But if you are someone who just turns your camera on and presses the button, then think about reading the manual or getting some advice. You might be surprised by what your camera can do and what different results you can get, sometimes just by selecting a different setting.
 4) If you already know how to use your camera, don’t be afraid to go back to full auto
Many great travel photos work simply because the photographer was in the right place at the right time. There is nothing worse than finding yourself in front of a really great scene and having to mess around with your camera to adjust the settings; by the time you’ve got it right, the moment has passed. Switch it back to full auto and get the shot!
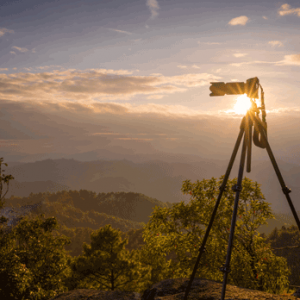
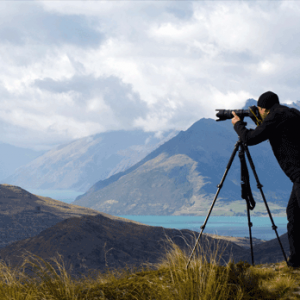
 5) Take a small tripod (or a beanbag)
Many images come out disappointingly blurred due to camera shake. This normally occurs when there is not a lot of light and your camera opens the shutter for quite a long time. During the time that the shutter is open, your hands make tiny movements which are transferred to the camera causing the blur. A small, light travel tripod is the perfect solution. If a tripod is too heavy or bulky, a small beanbag can often work just as well – you just need something to place it on; you rest your camera on top, and hey presto, nice sharp images!
6) Don’t run out of memory space or battery power
 Ensure you have spare memory cards and something to download images to. Do not rely on being able to buy more memory cards; in the really out-of-the-way places they may not be available and if they are, they could be of dubious quality! Adopt a similar approach to batteries; take a spare and your charger. If you use disposable batteries make sure you have replacements well before the ones in your camera run out. the entire length of the Spanish Camino, from St Jean Pied de Port in France, across the Pyrenees and onwards to Santiago. The entire trip can be done over a month, or you can break it down further as this itinerary comprises of our separate a travelling museum of Romanesque art.
7) Put your camera away once you’ve done your best with it
It’s a mistake to spend all your time looking through your lens. Ensure that you put your camera away from time to time and just experience the place you’re in, after all there is no point having great images if you do not have great memories to go with them!.

